QuickBooks integration - how to get started
QuickBooks Online users who wish to connect HedgeFlows to their QuickBooks account can do so via the Settings page as follows:
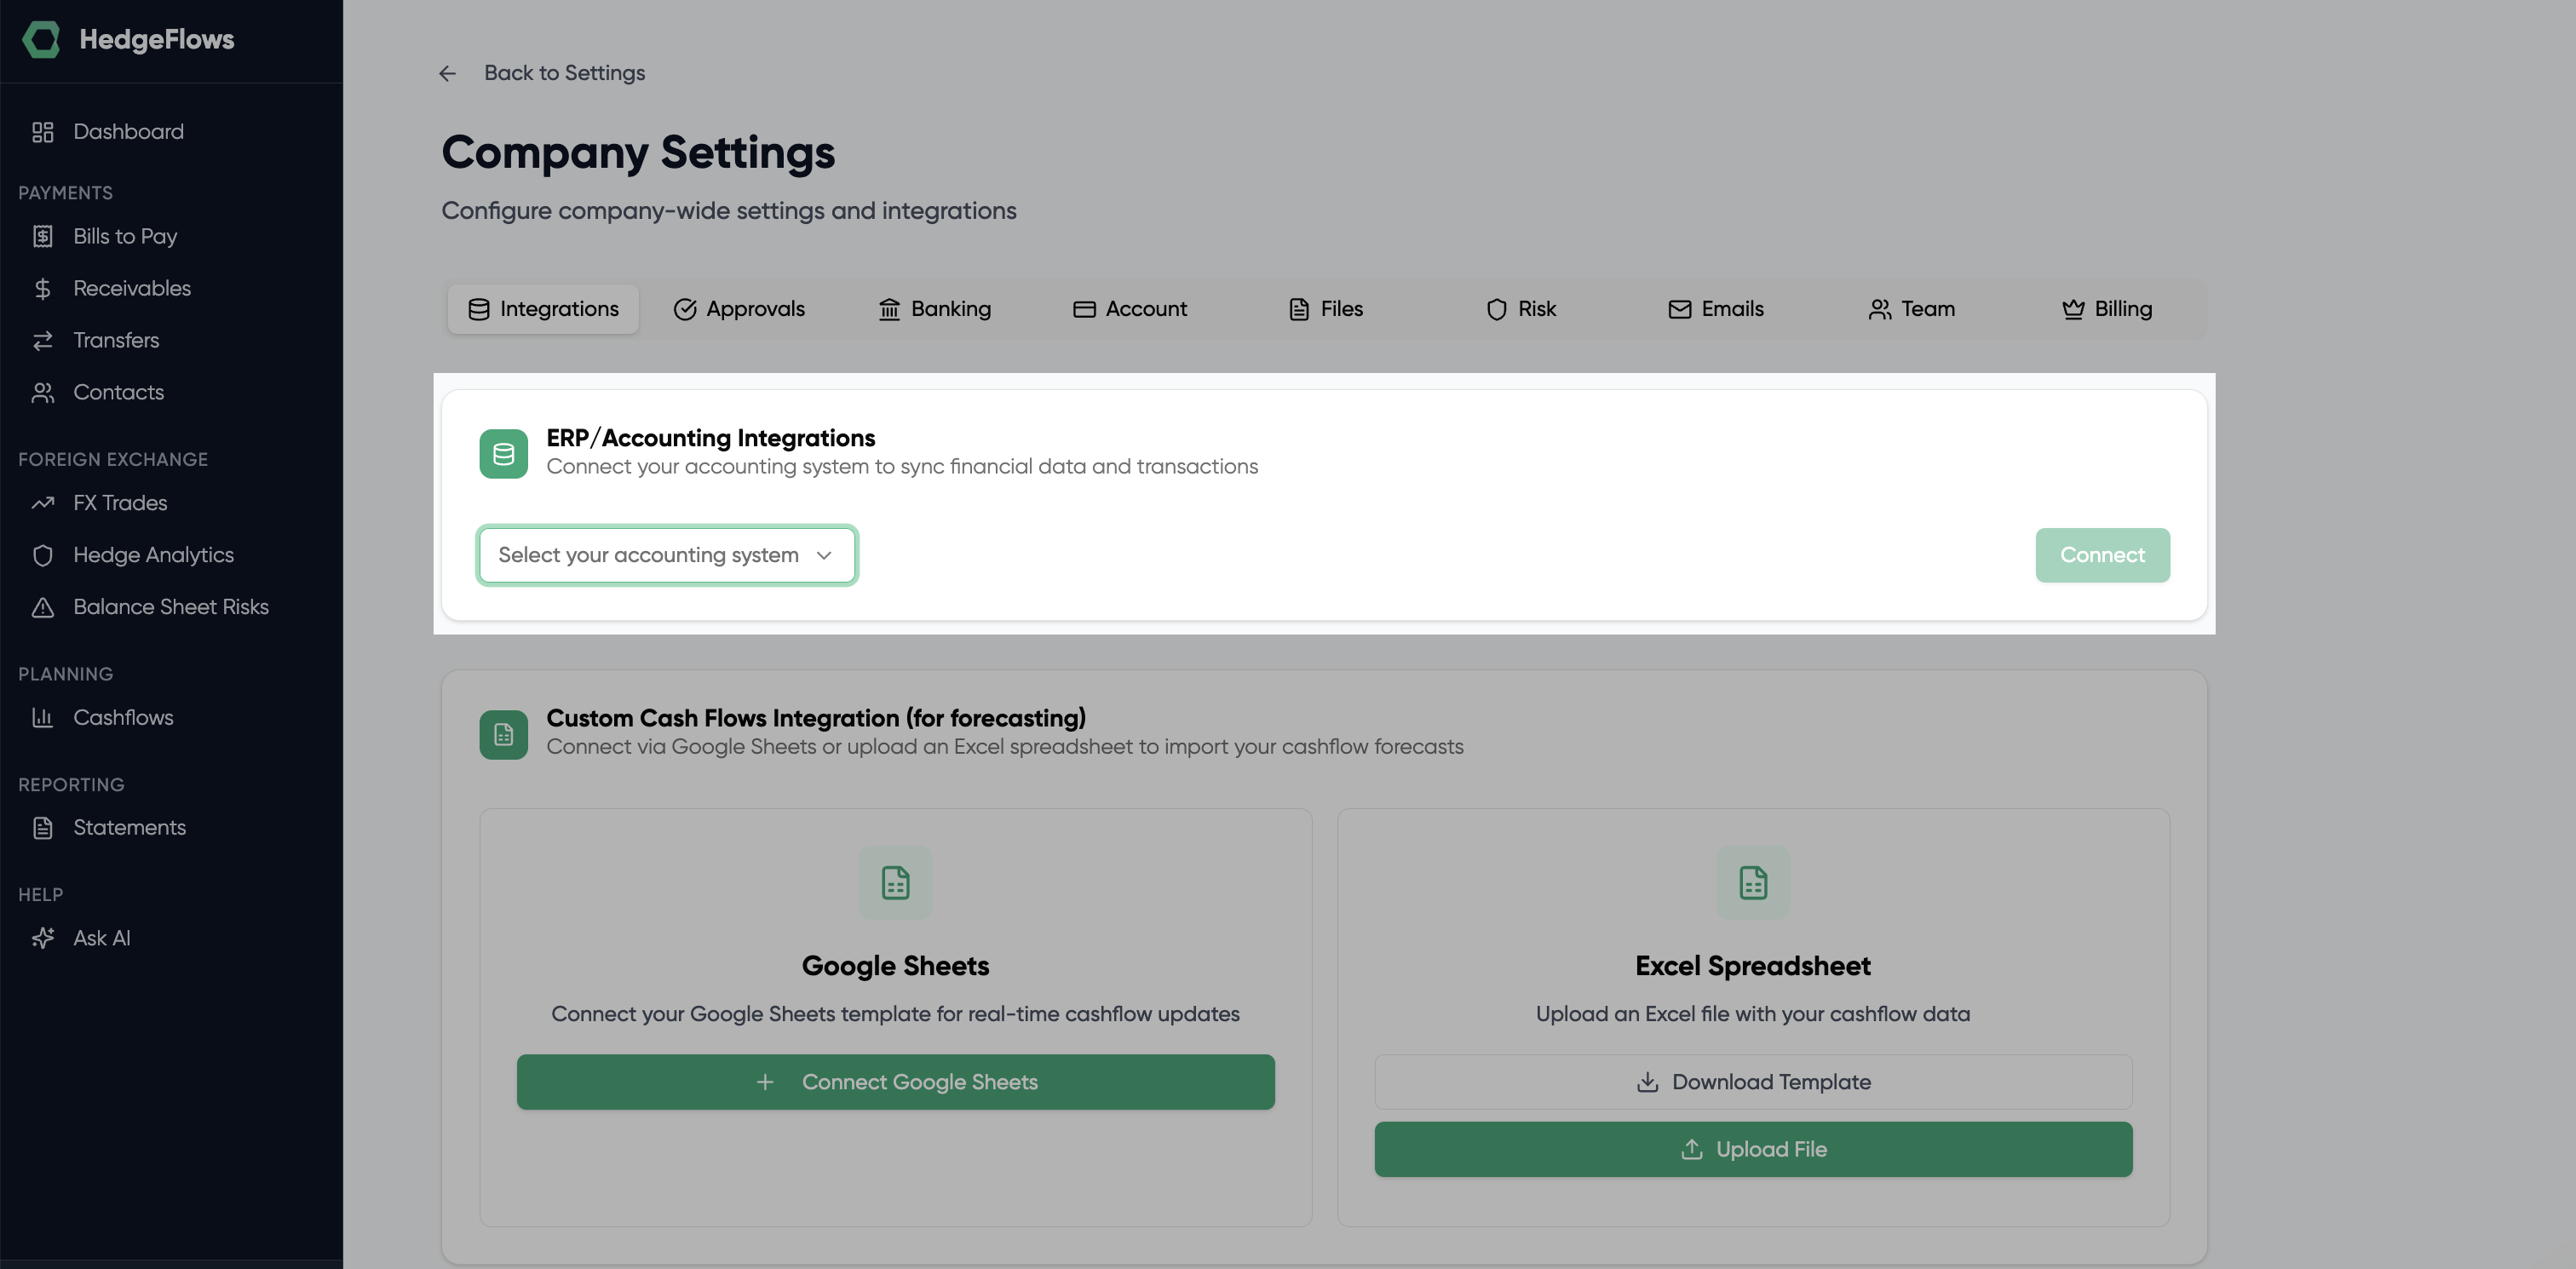
1) Locate QuickBooks Integration
Locate QuickBooks in the ERP/Accounting integrations section of our Settings page and click on "Connect":
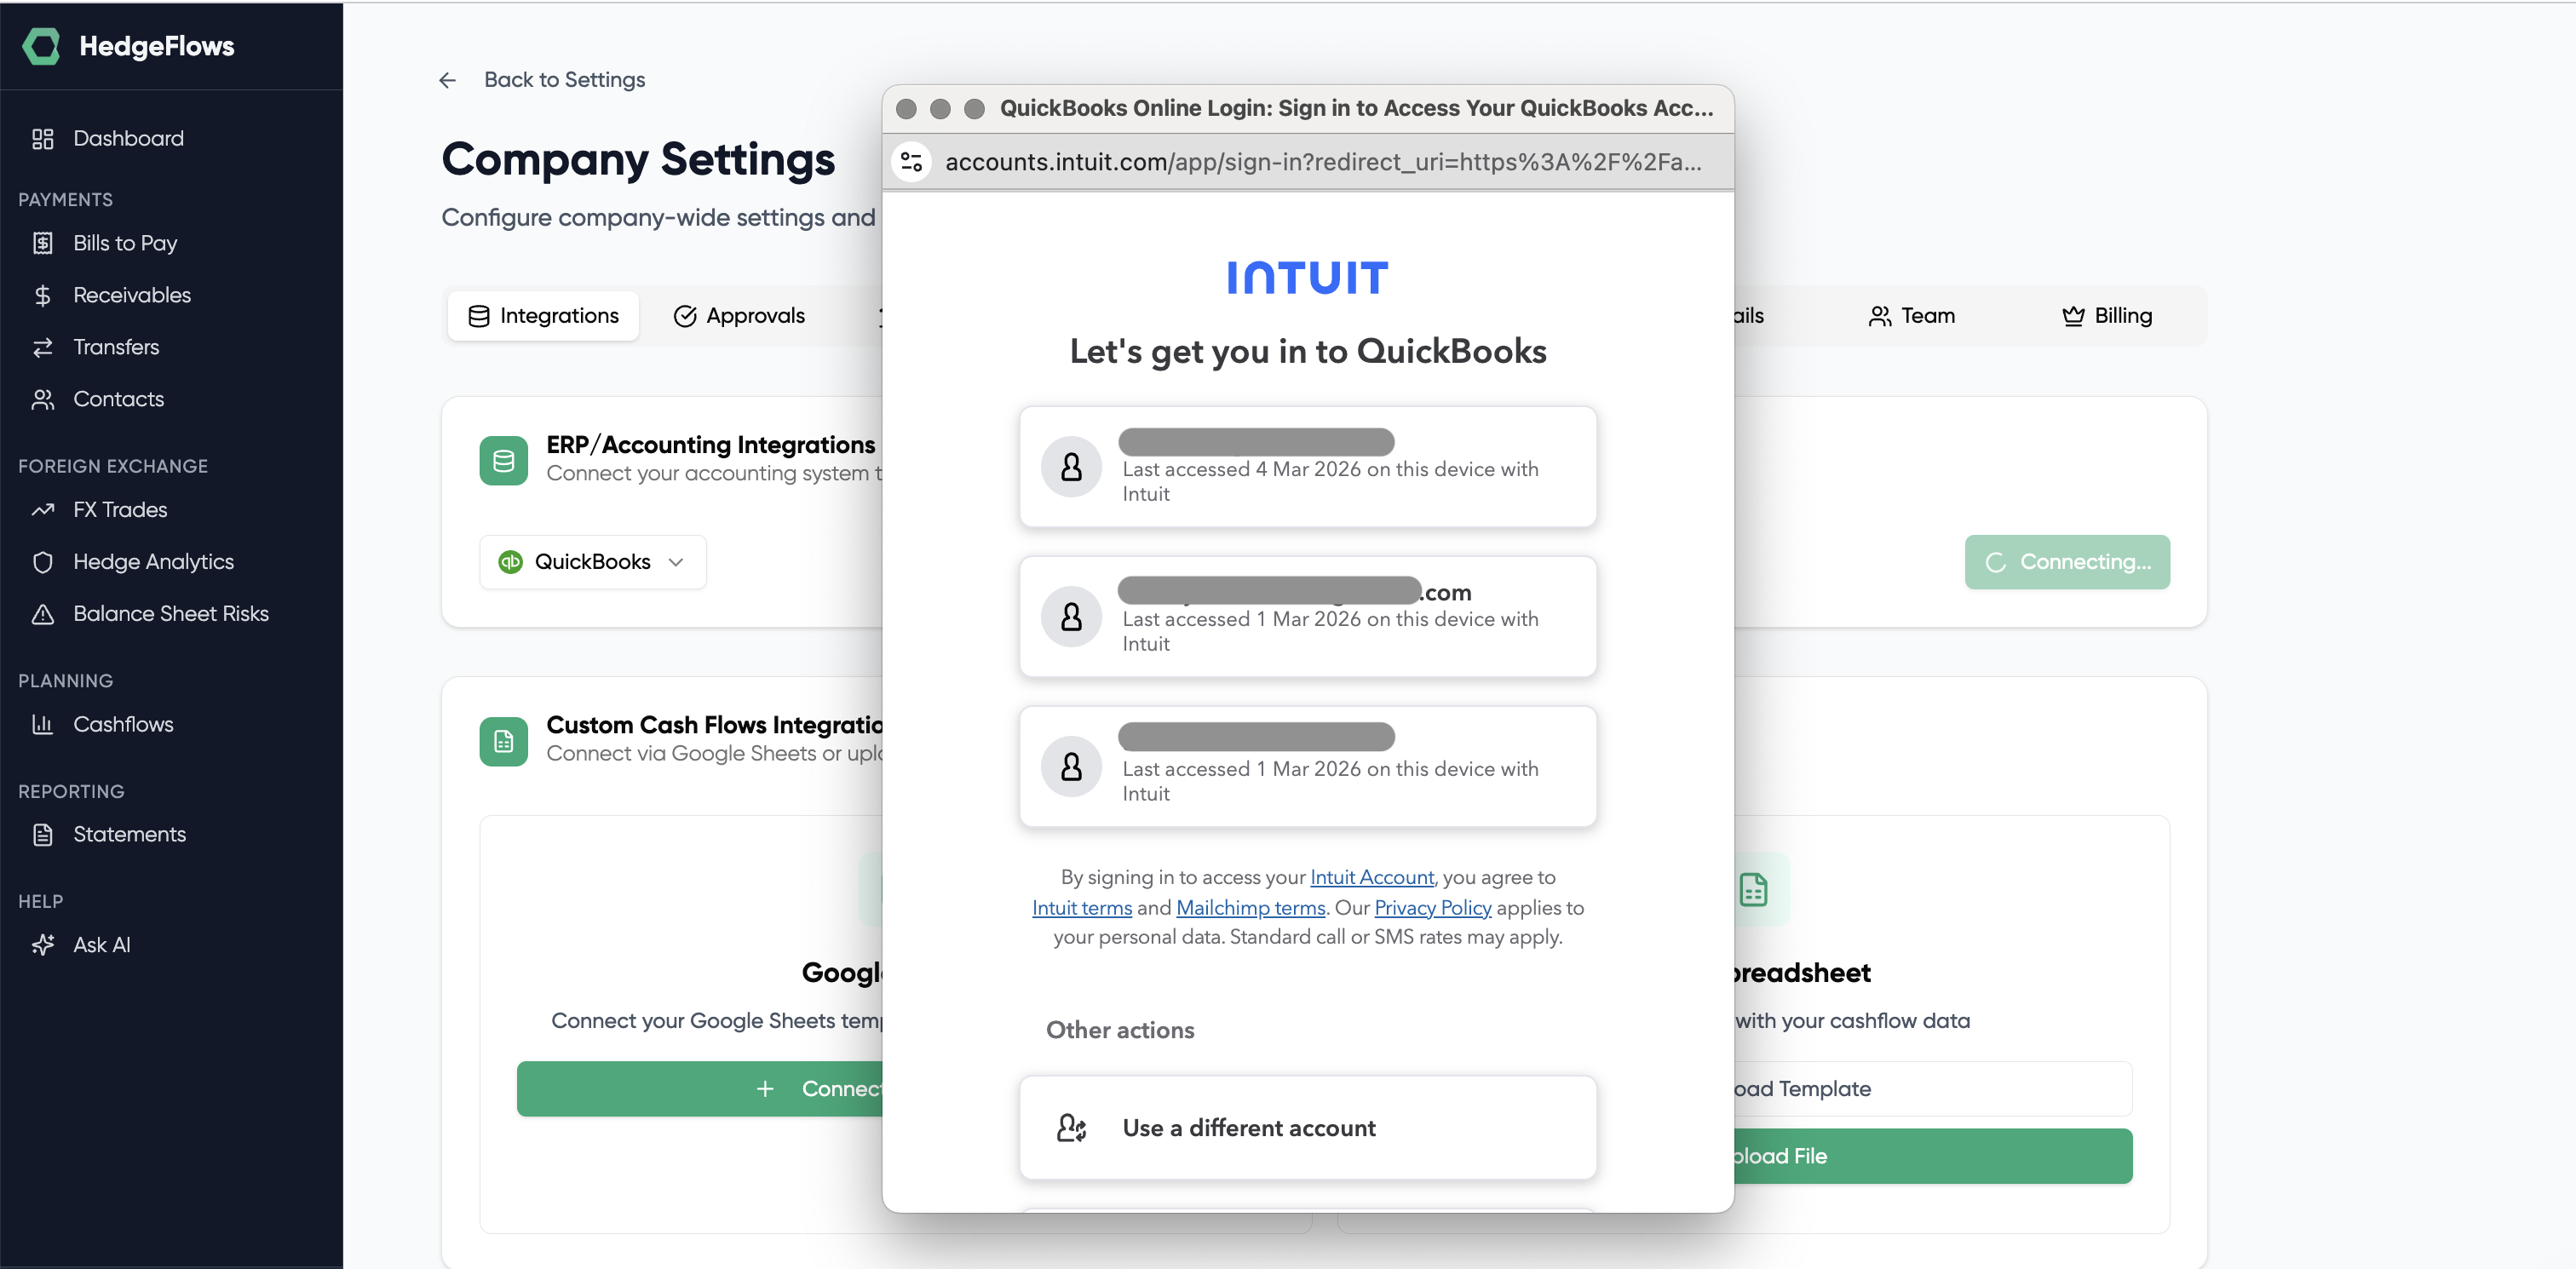
2) Authorise the integration
You should see the Intuit login pop-up window requesting you to first log in and then authorise HedgeFlows to connect to your QuickBooks account.
If you have more than one company associated with your Intuit login, please make sure you select the correct company to integrate with.
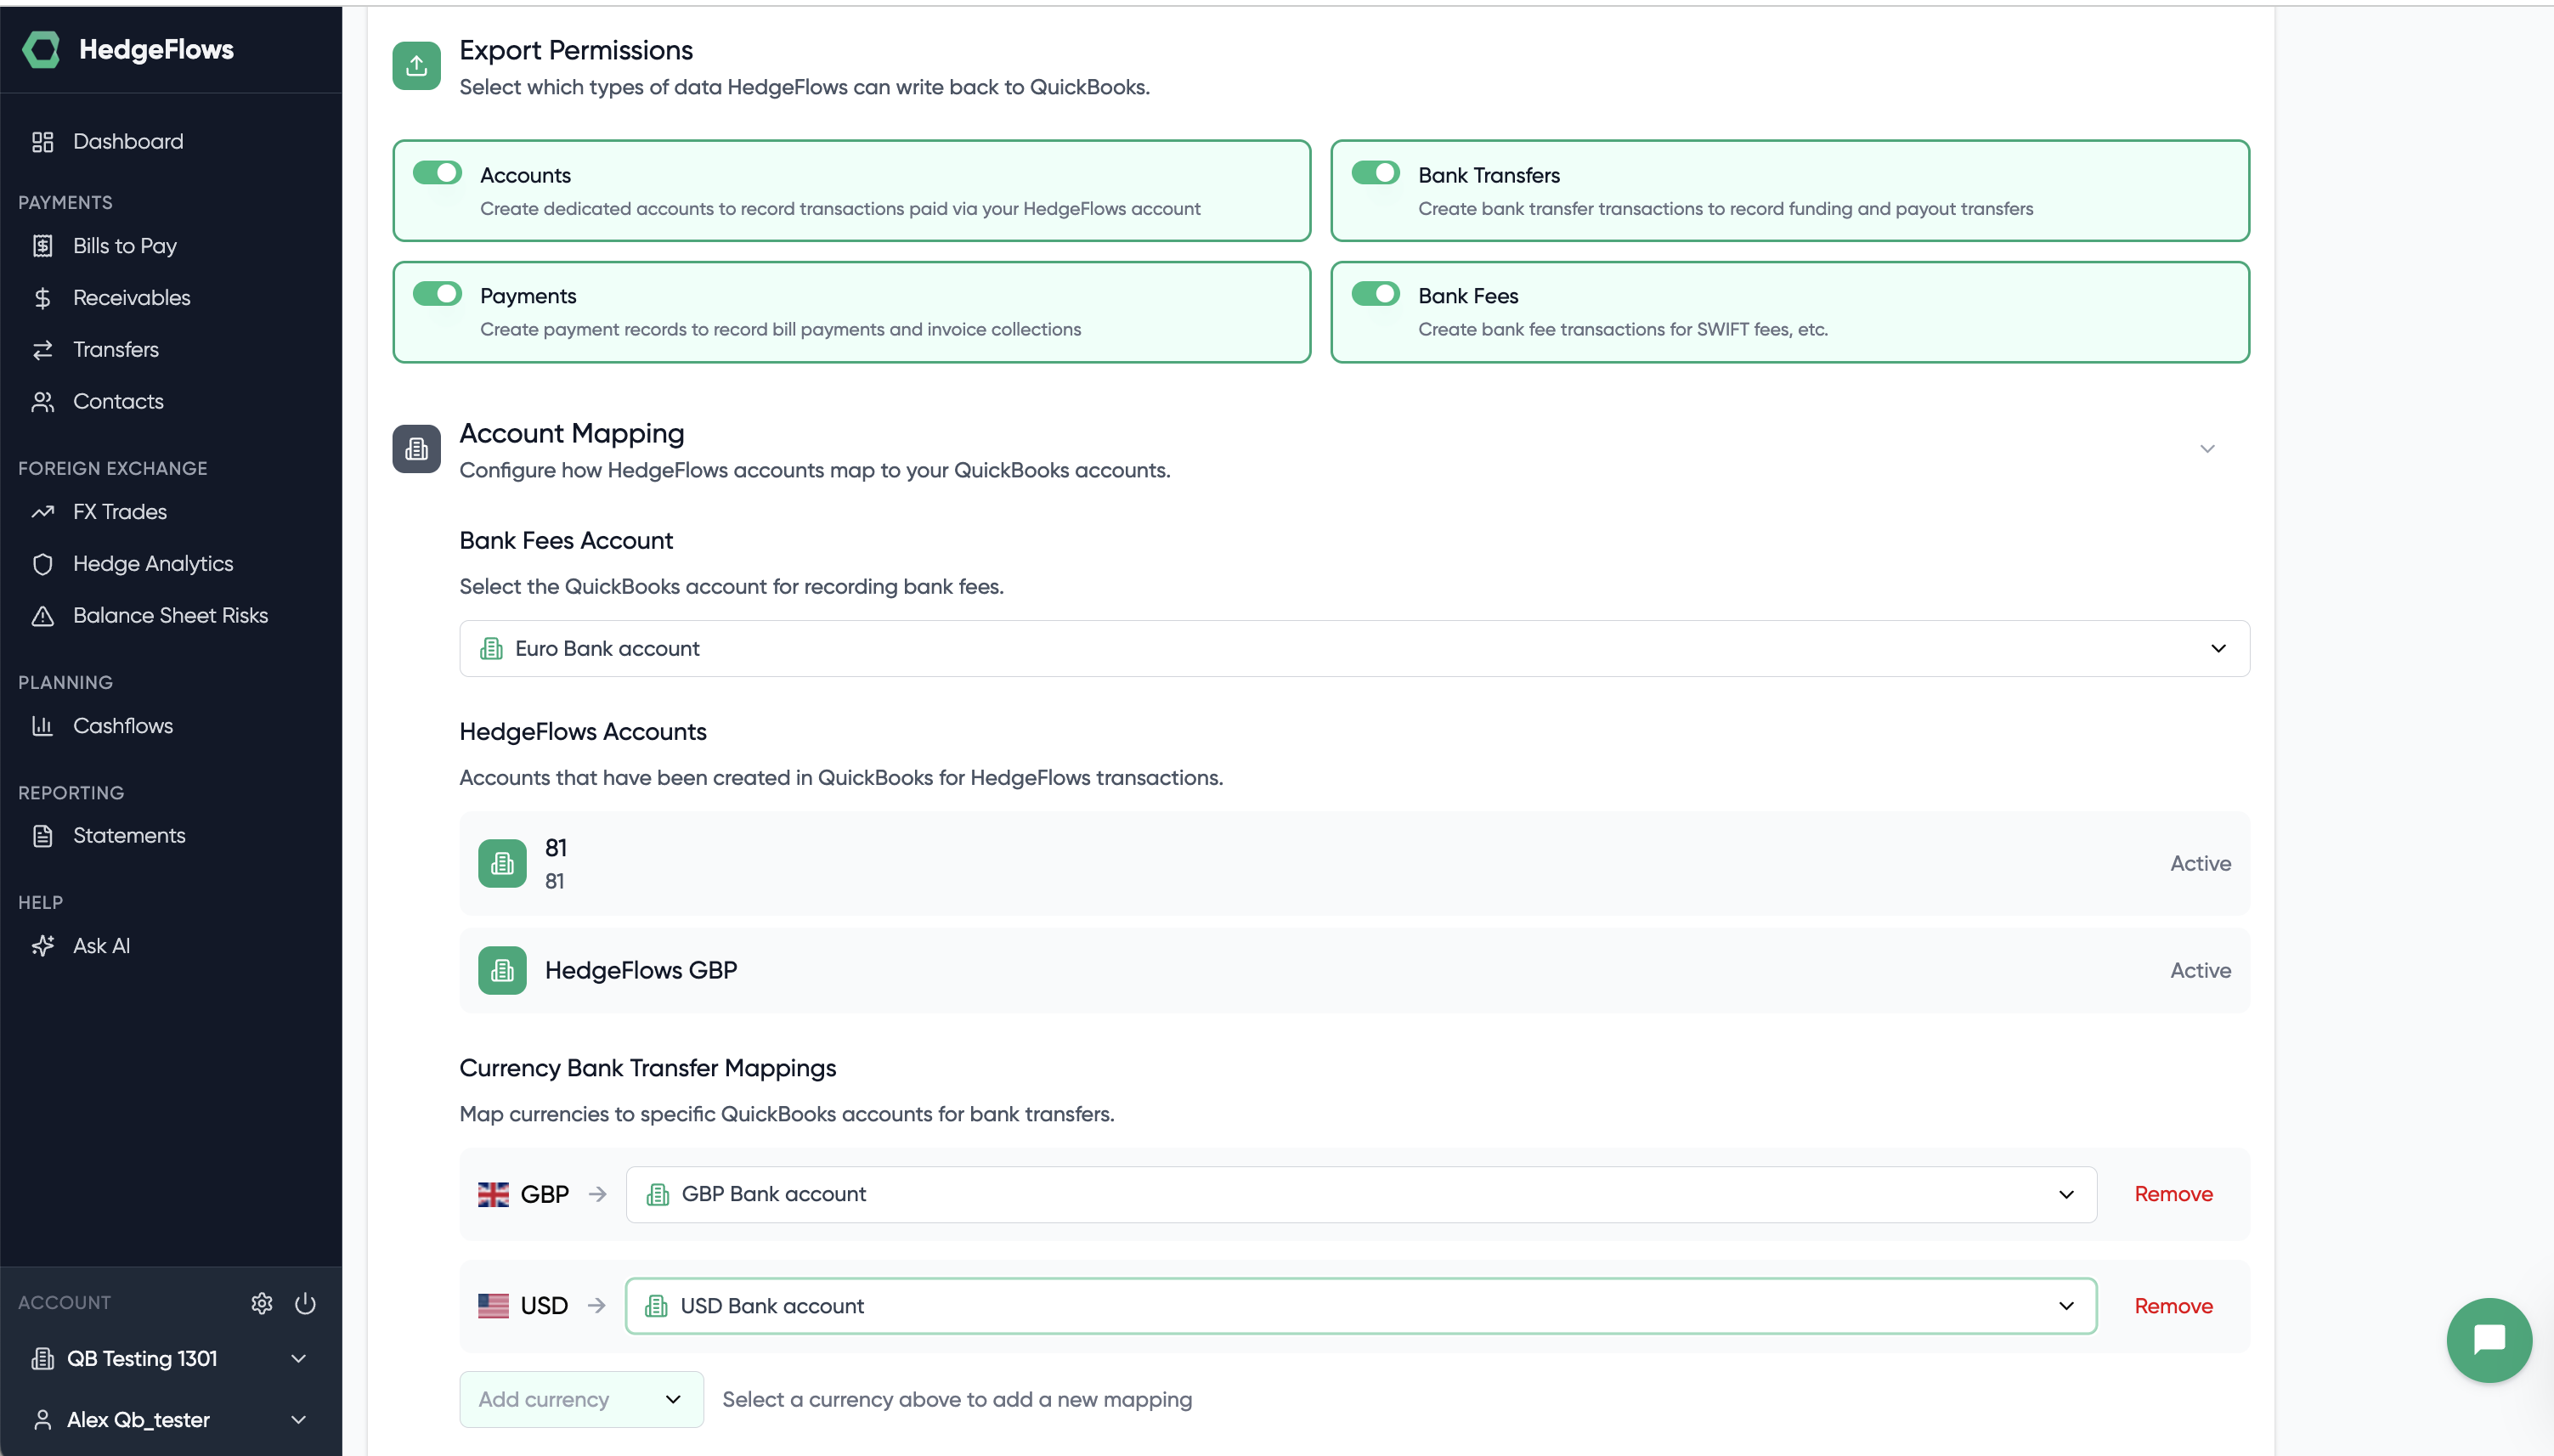
3) Decide which data you want to import
Once the QuickBooks integration is authorised, you can close the pop-up window and should see Step 1 of our QuickBooks settings setup. Please check that the company name listed matches your choice.
We provide you with the flexibility to decide which information you wish to import into HedgeFlows. If you have outstanding invoices that were created in QuickBooks several months ago, please choose the relevant historical period to load the data:
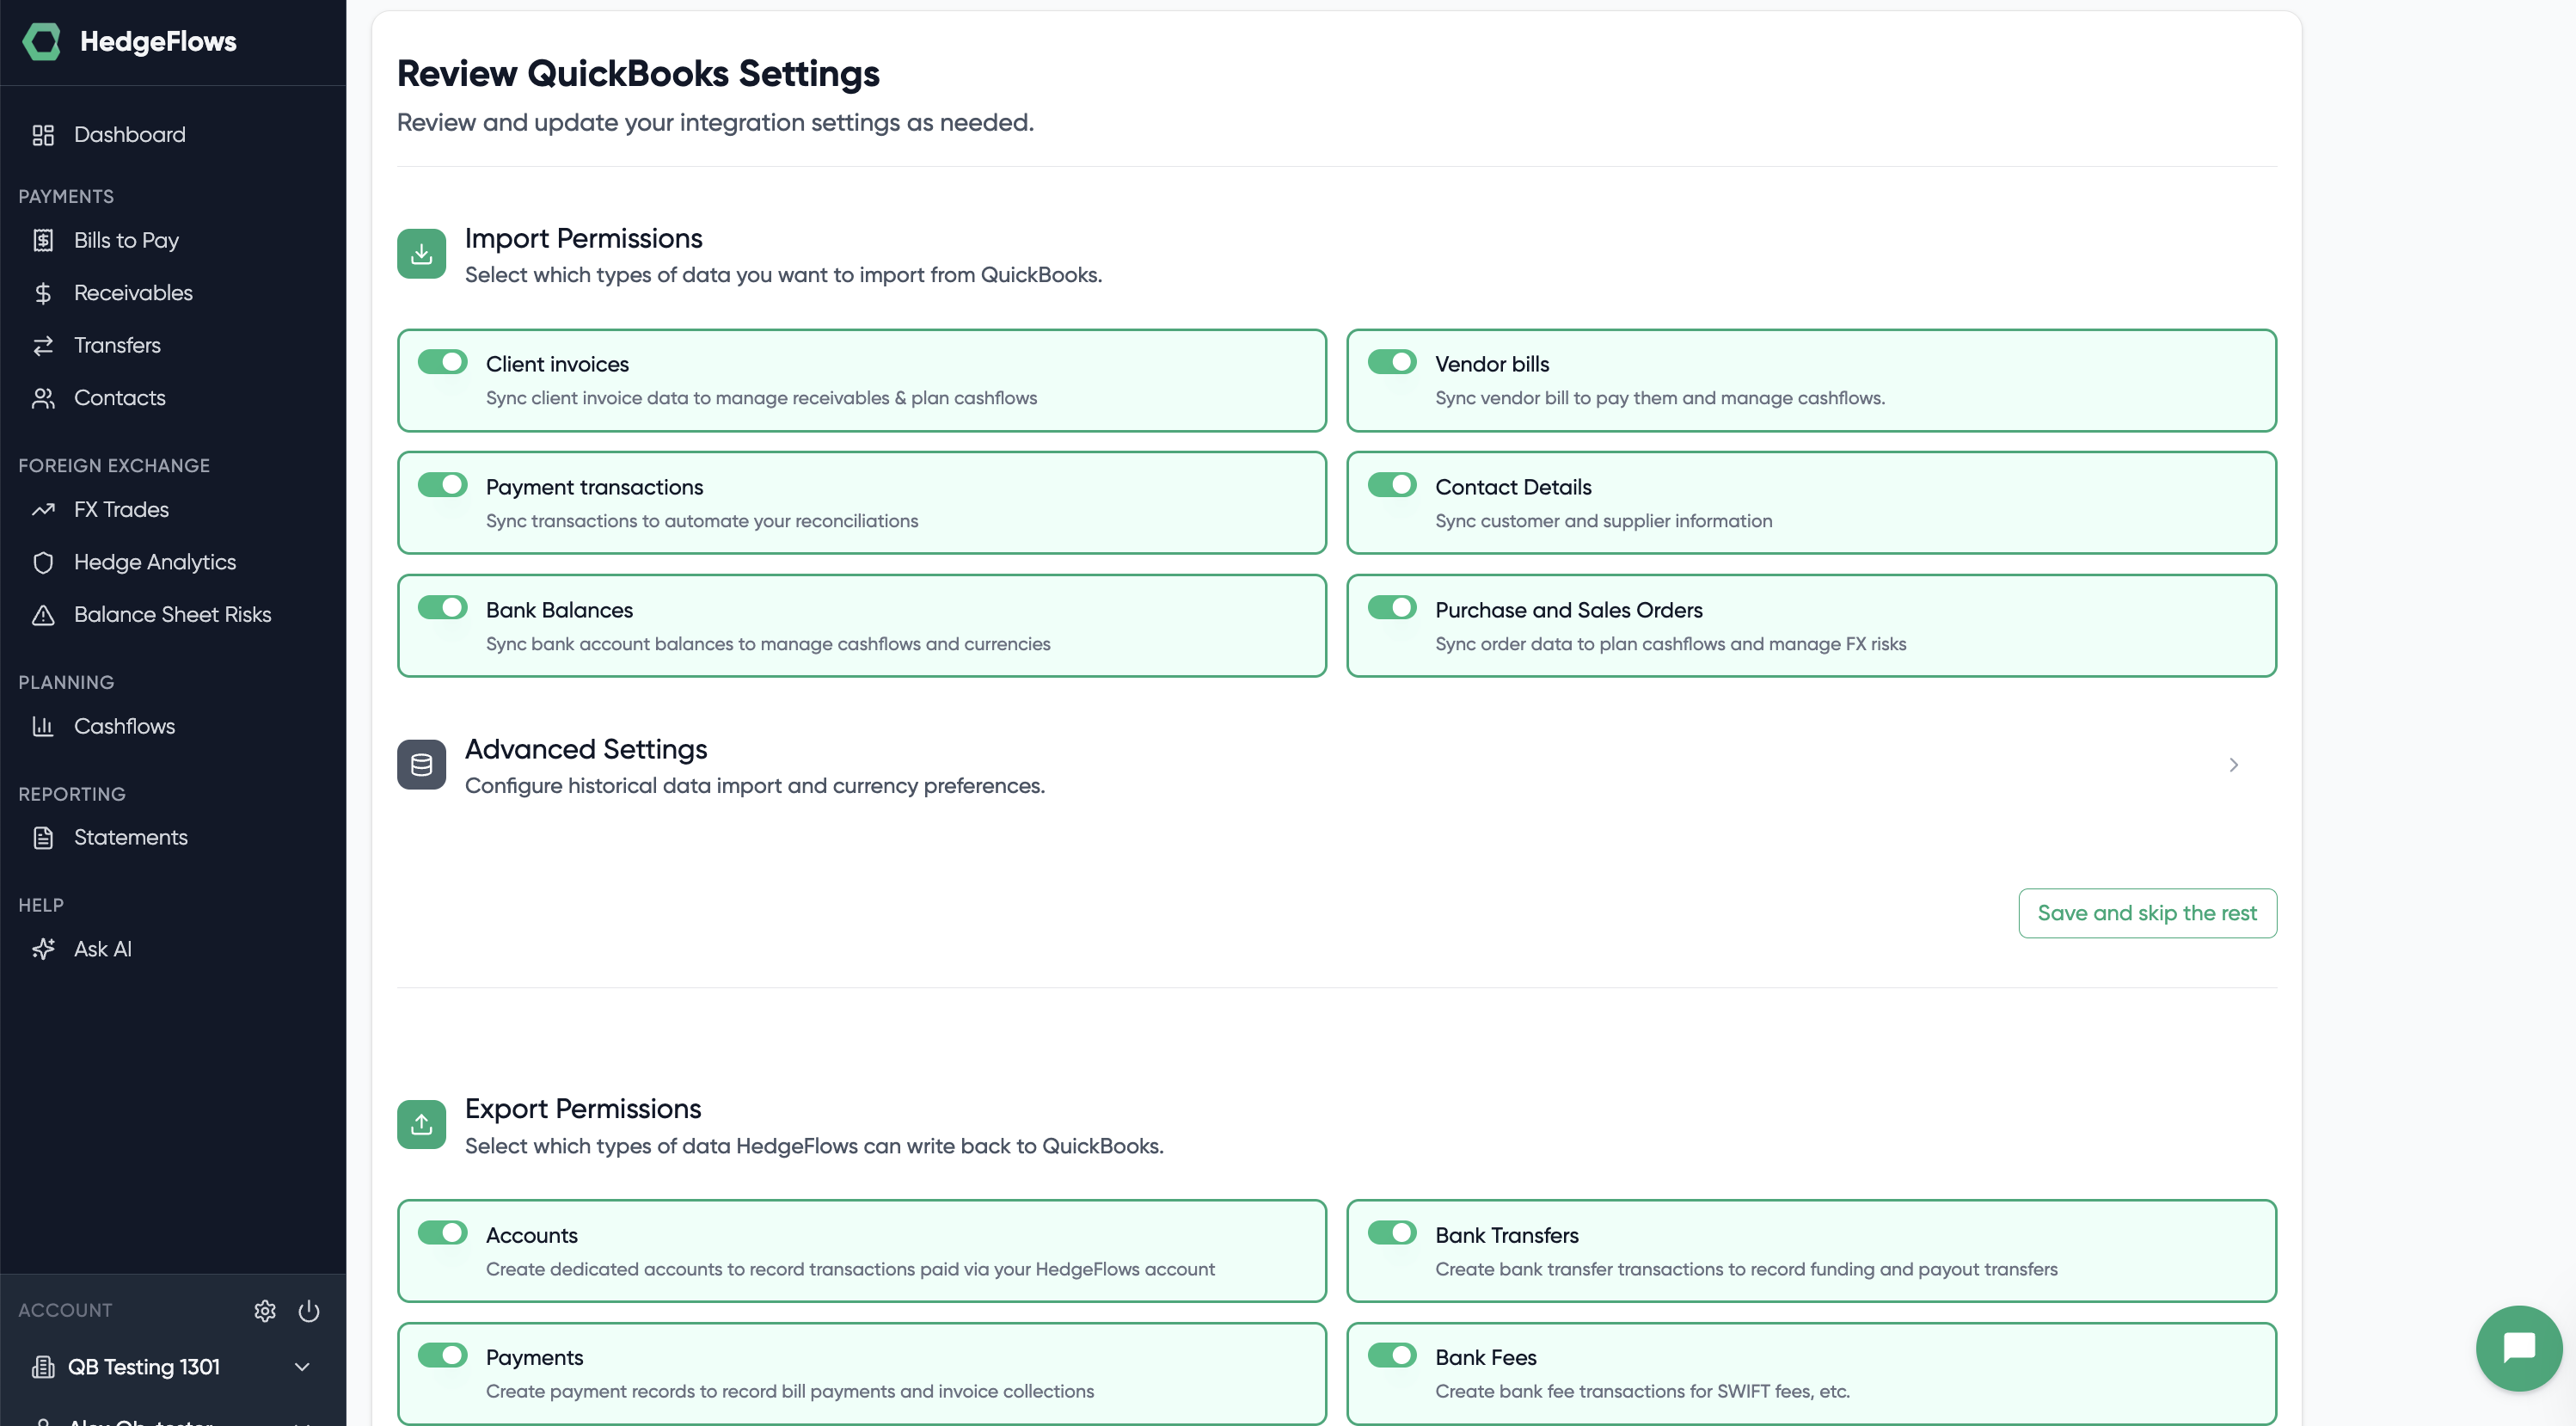
4) Decide which data to write back to QuickBooks
We also offer the flexibility to decide what you wish to write back to QuickBooks. If you wish to benefit from the automation that our platform offers for streamlining your payments and reconciliations of foreign bills and invoices, please select the relevant options.
5) Setting summary
Once you have confirmed your settings, you are directed to the summary screen.
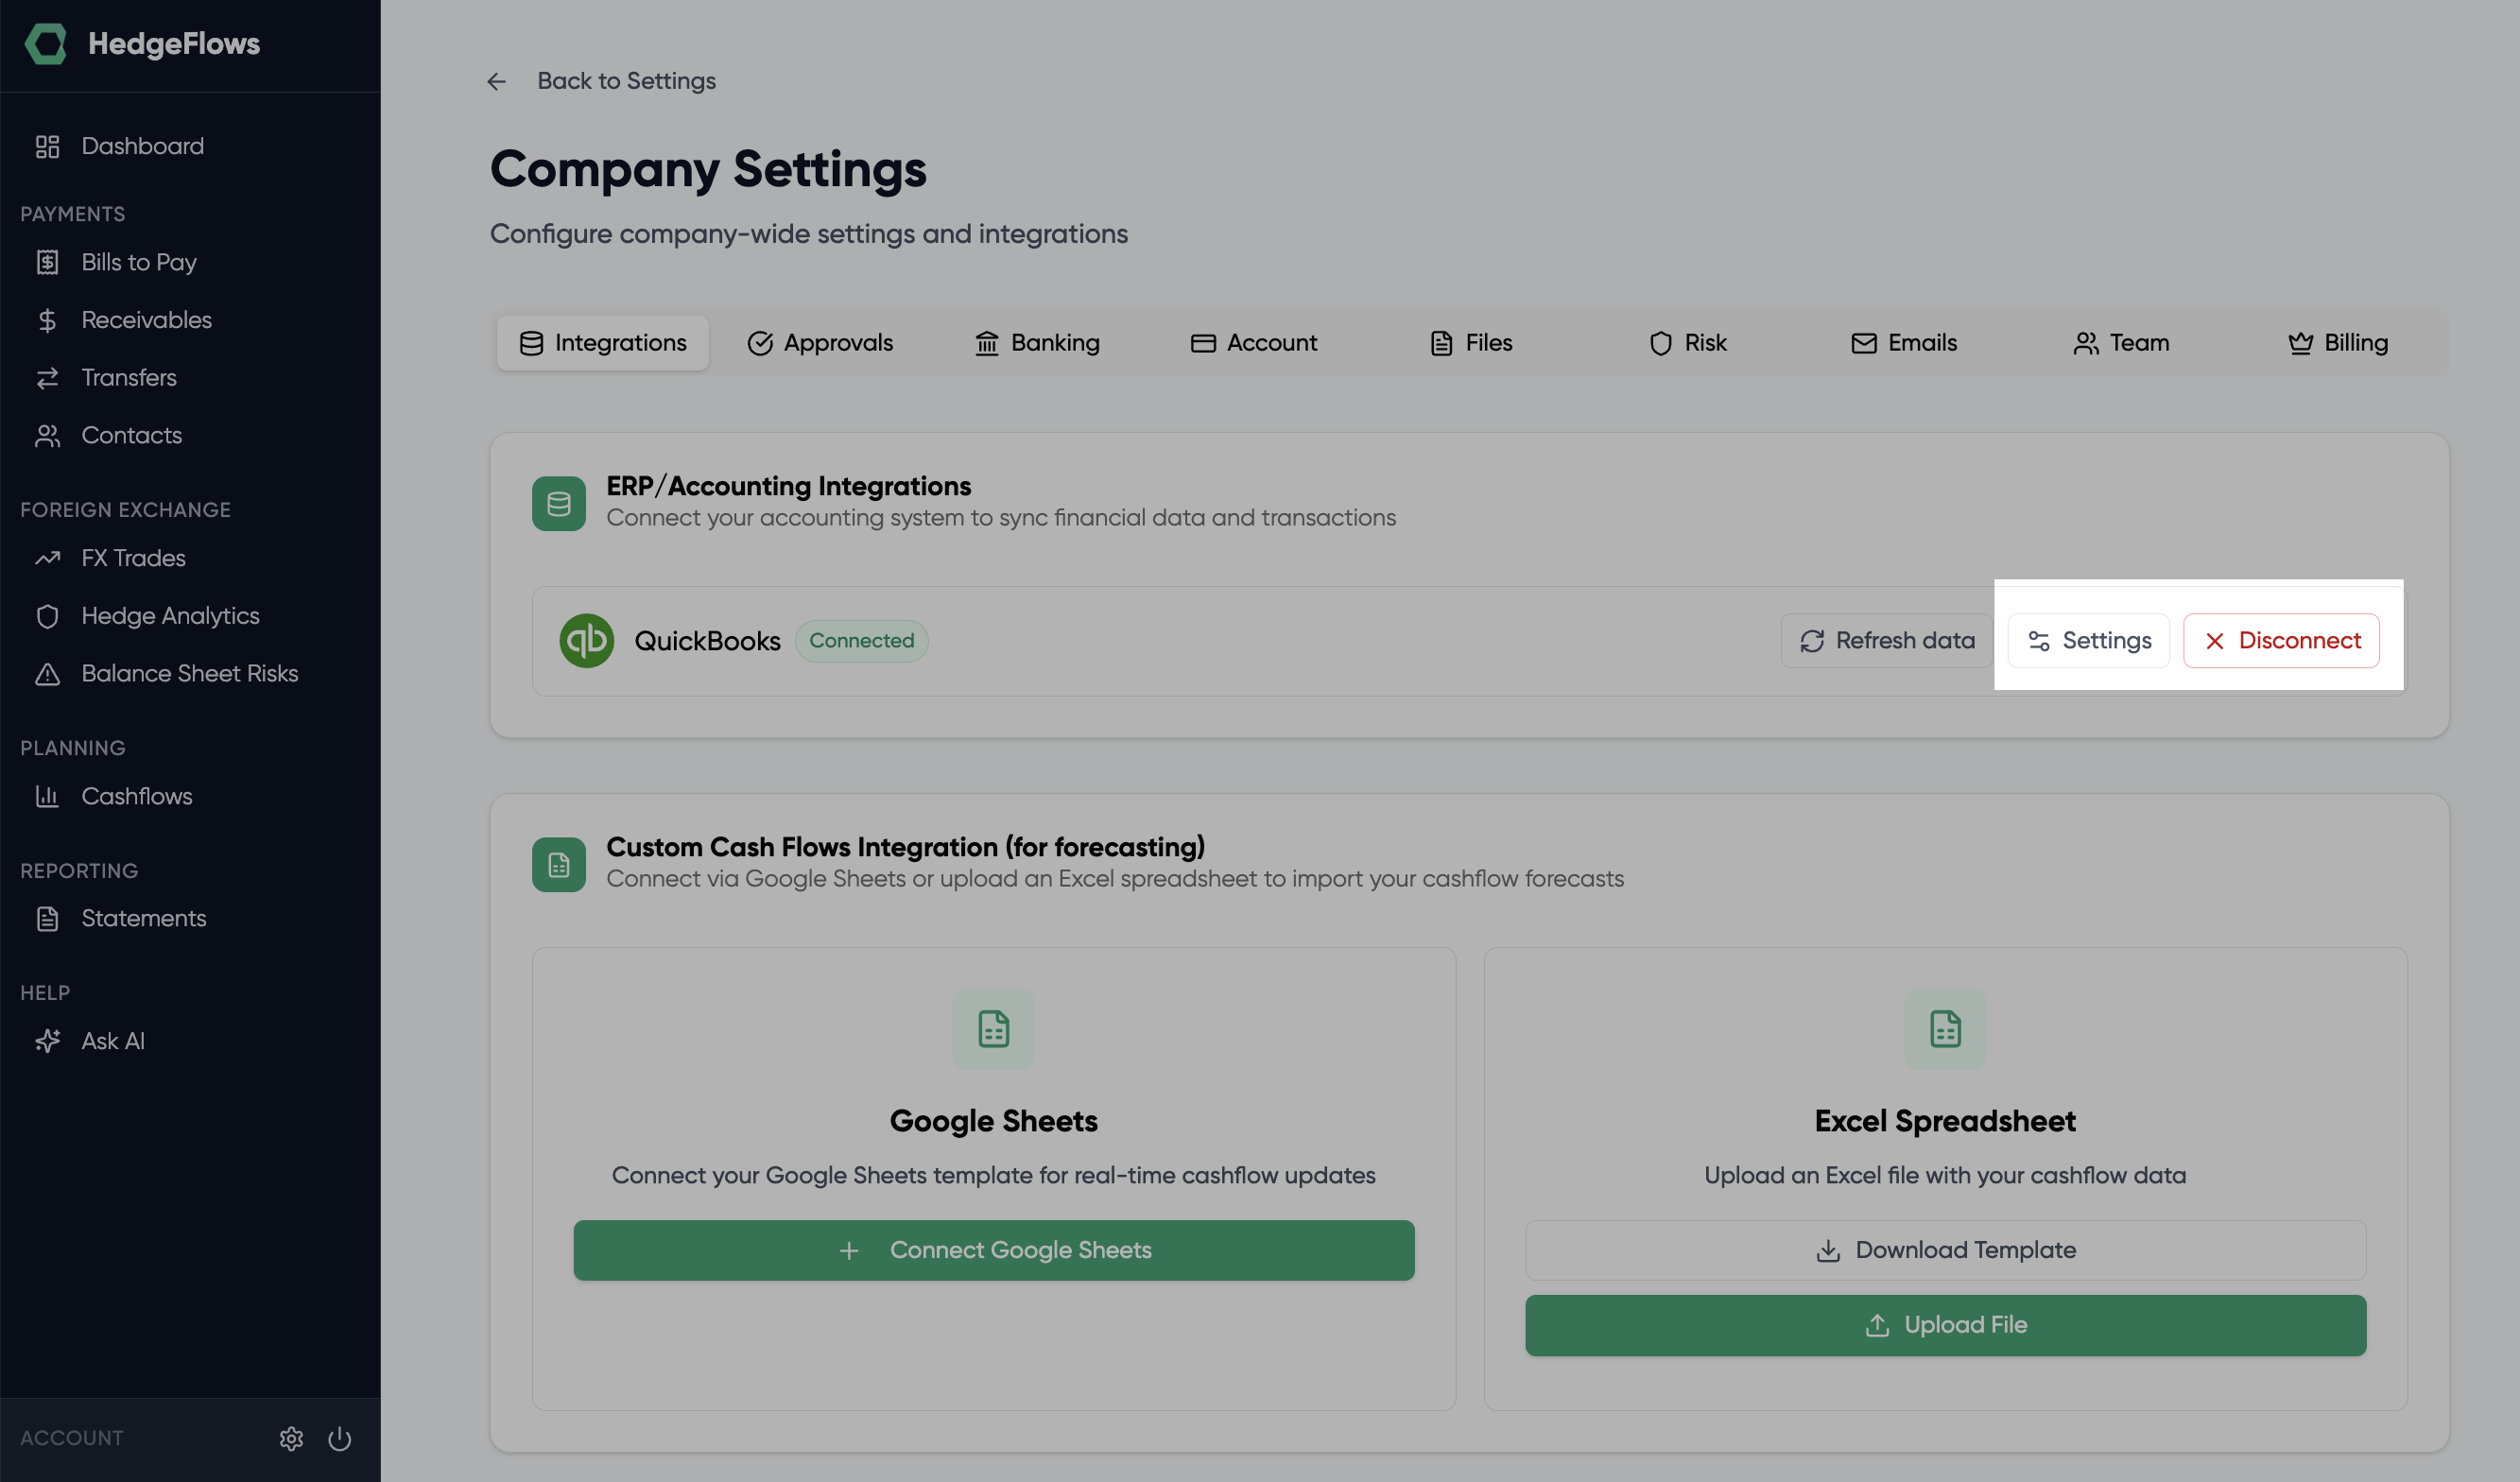
You can always come back to this screen and change the configuration via our Settings page. This is also where you can edit your integration settings or reconnect QuickBooks if your connection has been disconnected — simply click "Connect" again to re-authorise the integration.
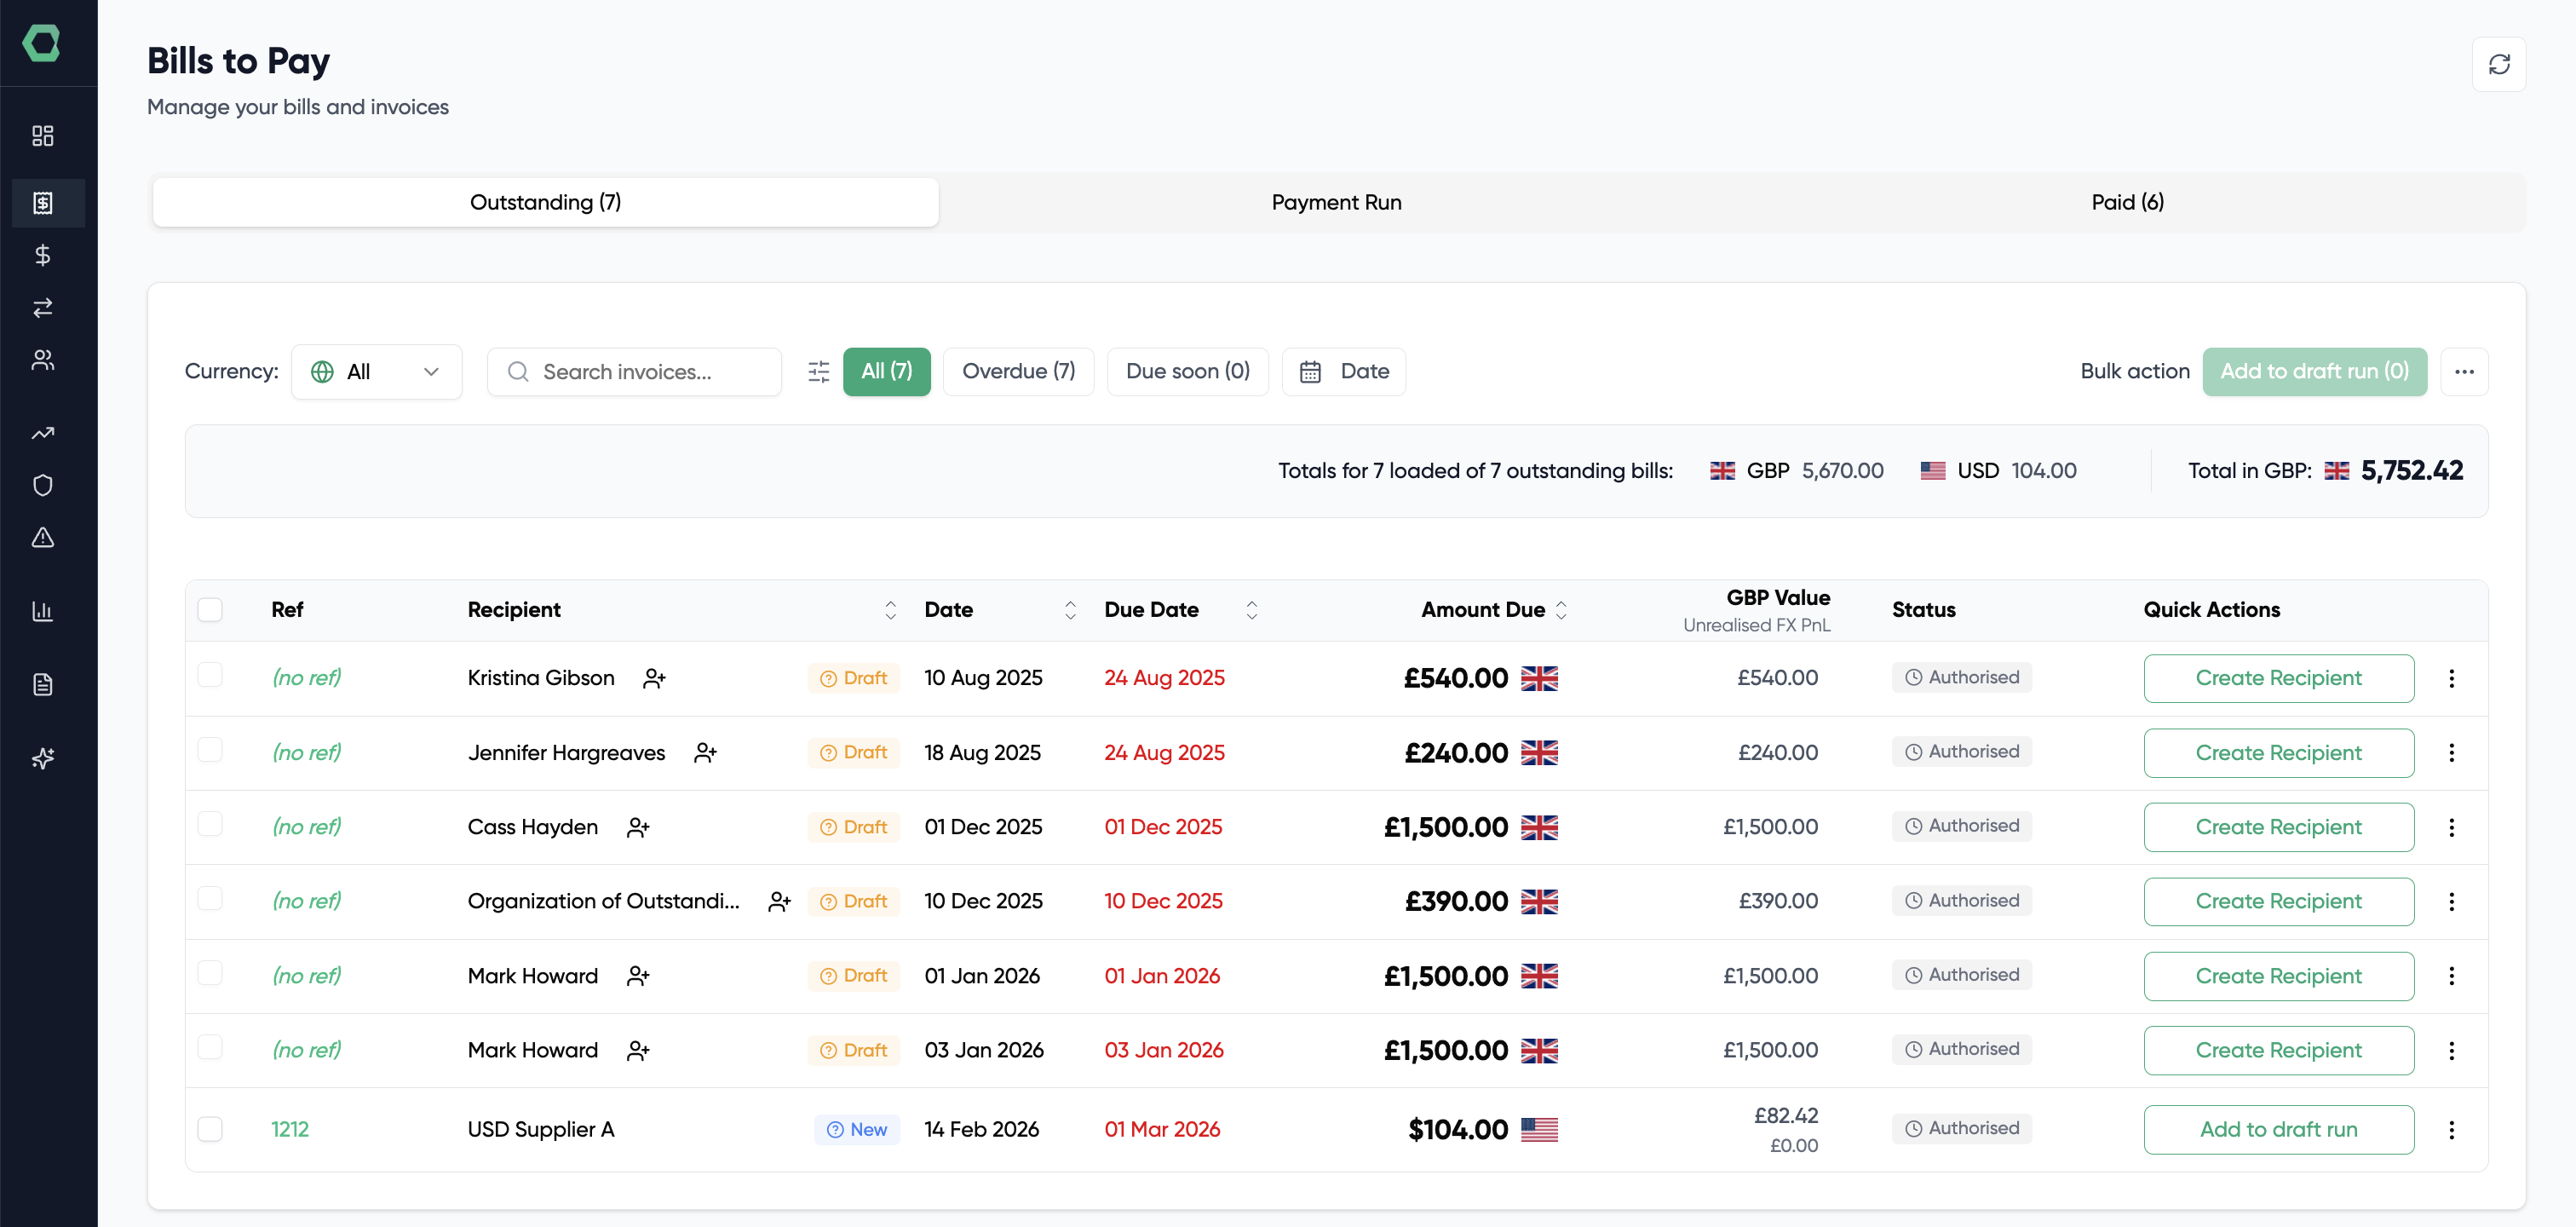
6) Finding your imported bills and invoices
You can locate your imported bills and invoices by navigating to the Invoices page: